

Why Isn’t My Olla Working? Troubleshooting Common Problems
When an olla isn’t working, it usually isn’t the olla itself — it’s the install, the surroundings, or a small mistake that’s easy to miss. The symptoms are predictable: the reservoir empties too fast (or too slow), the plants nearby look dry despite the full olla, or you see signs the system isn’t reaching all the plants it should. This guide walks through the six most common olla failures, what causes each, and how to fix them. Most issues are simple installs gone wrong, not actual defects.
THE SHORT VERSION
01 · PROBLEM: RESERVOIR EMPTIES TOO FAST
When the olla loses water in 24 hours
If your olla empties faster than 5 days, something is off. The most common cause is skipping the pre-soak. New ollas have completely dry clay walls, and dry clay absorbs water inward before it starts releasing outward. The first half-gallon of water vanishes into the walls — not because the olla is leaking, but because the clay is drinking it. After 24 hours, the clay is saturated and the system settles into normal release rates.
Other fast-empty causes: a hairline crack in the wall (visual inspection or water-immersion test will catch this), an oversized wetted zone in extremely sandy soil (water moves through sand faster than through loam), or a high-evaporation environment with no mulch. For broader refill timing context, see how long ollas hold water by pot size.
02 · PROBLEM: PLANTS STAY DRY
When the olla is full but plants suffer
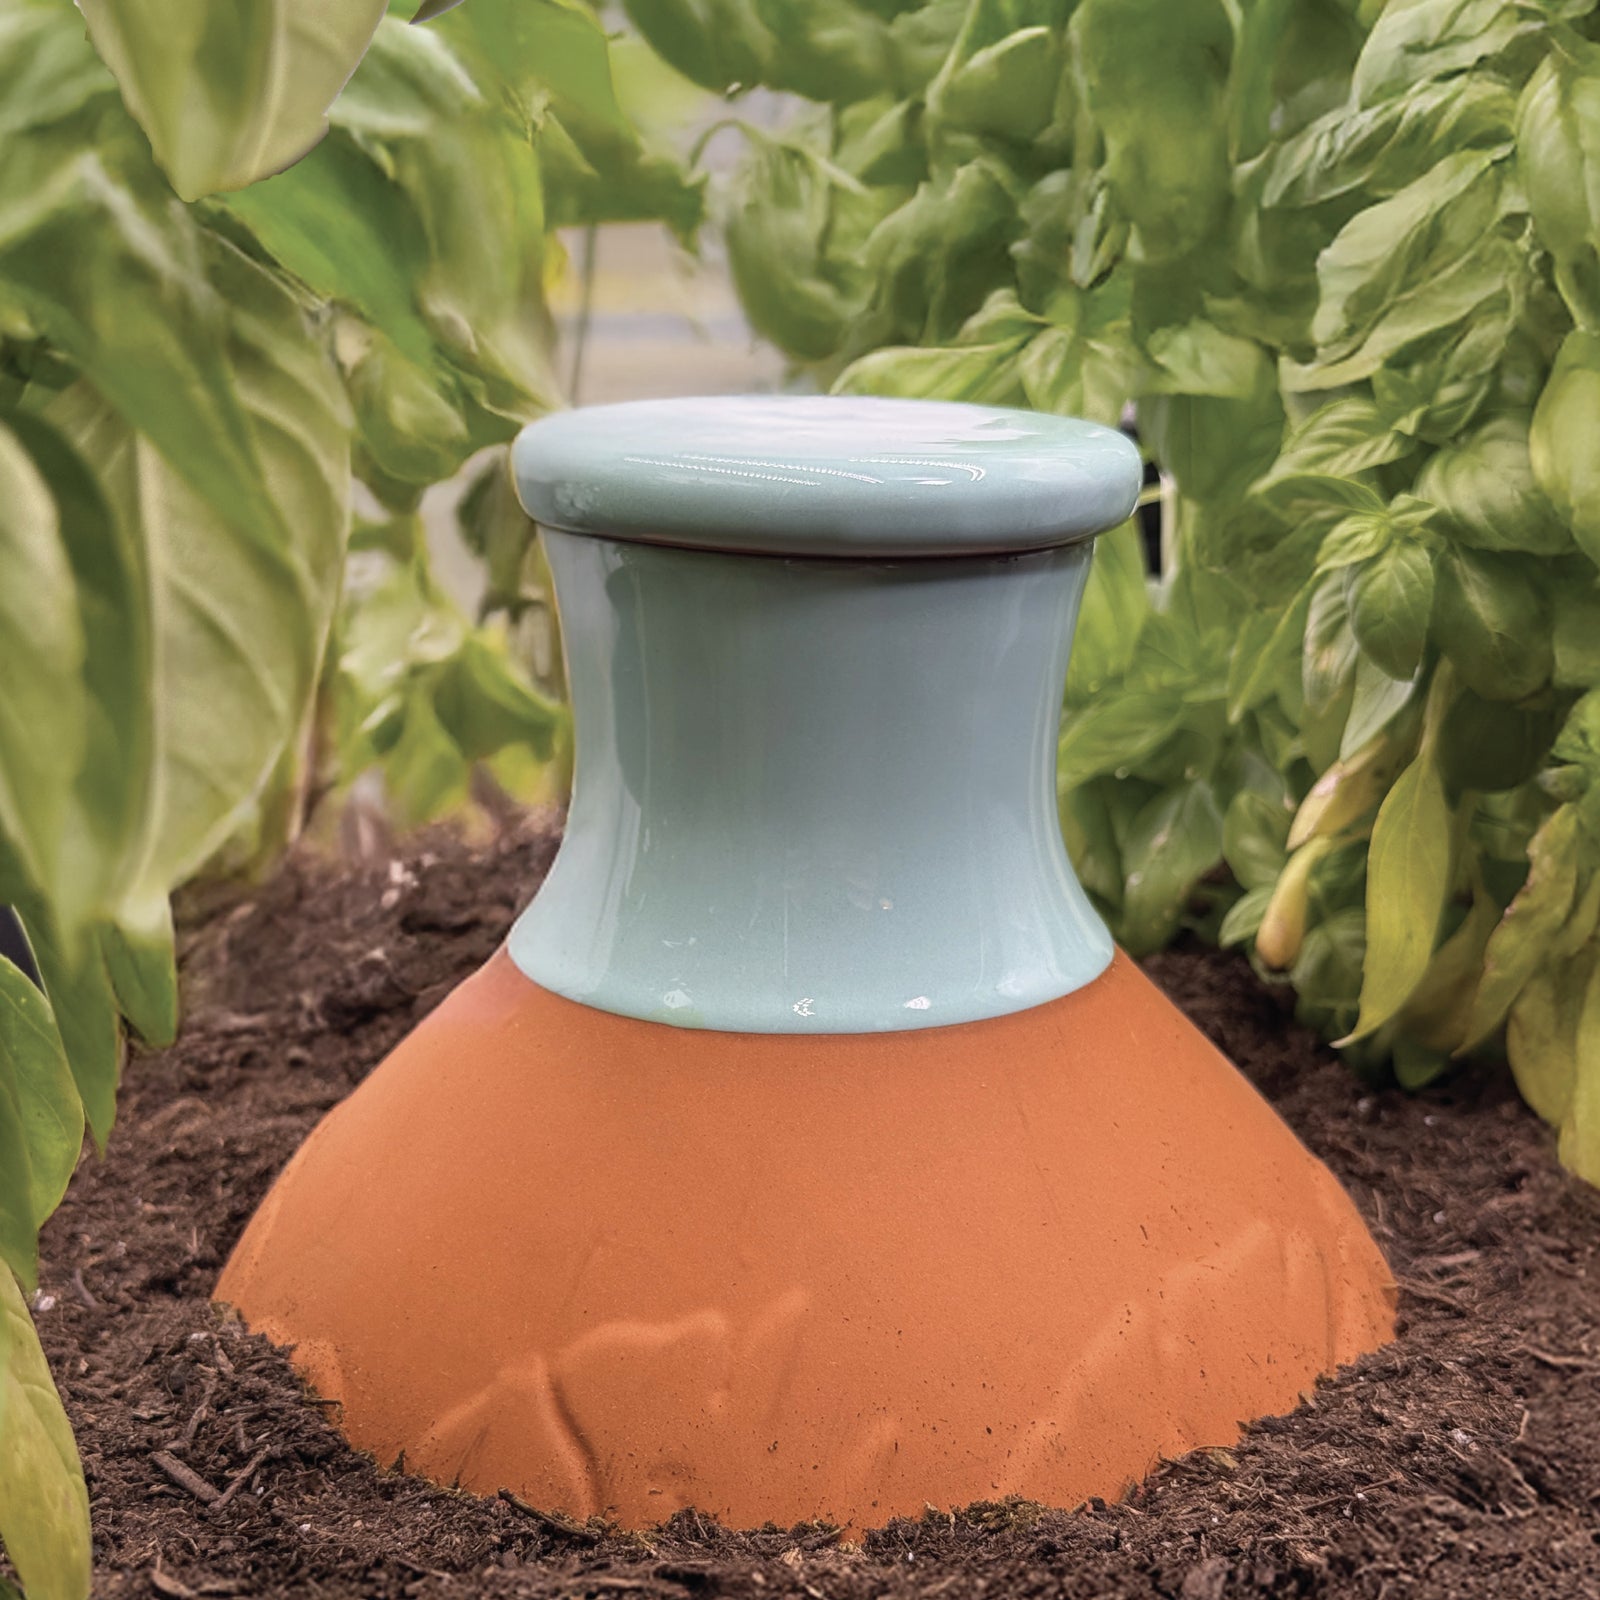
This is the classic “air gap” problem. The olla was buried correctly, but the backfill wasn’t firmed enough, leaving small air pockets between the clay wall and the surrounding soil. Without direct clay-to-soil contact, capillary action can’t pull water out of the olla effectively. The reservoir stays full and the plants stay dry.
The fix is to dig up the olla, refill the hole with soil firmly tamped in layers, and reinstall. Sounds painful but takes 10 minutes and prevents a season of frustration. Other causes of dry plants: plants placed too far from the olla (beyond the 15–20 inch wetted radius), or the olla buried so deep that the wetted zone is below the root system. For positioning details, see how deep to bury an olla and how many ollas per square foot.
03 · PROBLEM: WATER QUALITY ISSUES
Mineral buildup and what to do about it
In hard-water areas, mineral buildup inside the olla wall can reduce porosity over time. The symptoms develop slowly — the olla starts emptying more slowly than it used to, plants need more supplemental watering, the system feels “tired.” The four cards below cover the main water-quality variables and what they do to ollas.
01 · Hard water
Mineral buildup
Calcium and magnesium deposits inside the wall slow porosity over time. Annual vinegar descale prevents.
02 · Soft water
Best for ollas
Rainwater or softened municipal water. No mineral deposits, no porosity changes over time.
03 · Well water
Test it
Well water varies wildly. Test hardness; treat with vinegar descale if calcium-heavy.
04 · Chlorinated
Fine
Standard municipal chlorinated water has no negative effect on ollas. Use as-is.
04 · PROBLEM: STRUCTURAL DAMAGE
Cracks, chips, and freeze damage
Visible cracks are the easiest problem to diagnose — the olla shouldn’t hold water at all if there’s a crack through the wall. Hairline cracks are subtler. Submerge the olla in a bucket and watch for streams of bubbles in one specific spot — that’s where a hairline crack lets air escape faster than the surrounding wall.
Most cracks come from freeze damage (trapped water expanding) or impact (dropping the olla, hitting it with garden tools). Freeze damage is preventable by removing the olla before the first hard frost in cold climates. Impact damage isn’t reversible — cracked ollas can be partially repaired with food-safe epoxy but never restore full function. For lifespan and freeze prevention, see how long olla pots last.
01 · Did you pre-soak?
If the olla is new and emptying fast, this is the most likely cause. Pre-soak it (15–30 min submerged) and reinstall — the issue should resolve.
02 · Is backfill firm?
Dig around the olla. If the soil pulls away easily or you see gaps, the backfill is loose. Re-pack firmly.
03 · Check for cracks
Submerge in a bucket. Watch for bubble streams in specific spots — that indicates a hairline crack.
04 · Inspect the lid
Confirm the lid sits flush on the neck. A loose lid loses water to evaporation and lets mosquitoes in.
05 · Test plant proximity
Measure distance from olla center to nearest plants. If beyond 18 inches, plants are outside the wetted zone.
Annual descale
In hard-water areas, vinegar descale annually to remove mineral buildup that reduces porosity over time.
05 · PROBLEM: LID AND OPENING ISSUES
Common lid mistakes that cause failures
The lid sits flat on the olla’s neck and prevents evaporation and pest entry. Several common lid issues cause downstream problems.
- Confirm the pre-soak. If the olla is new and emptying fast, you may have skipped the pre-soak. Submerge for 15–30 minutes before re-installing.
- Check backfill firmness. Loose backfill creates air gaps that block capillary action. The most common cause of “full olla, dry plants.”
- Inspect for cracks. Hairline cracks aren’t always visible. Submerge in a bucket and watch for bubble streams that pinpoint the leak.
- Verify lid seal. A flush lid is essential — loose lids cause evaporation, mosquitoes, and lower system efficiency.
- Test plant distance. Plants outside the 15–20 inch wetted zone won’t benefit from the olla. Replant closer or add a second olla.
06 · THE DIAGNOSTIC CHECKLIST
Five-minute olla diagnostic
If your olla isn’t performing as expected, work through this checklist before assuming the olla itself is defective. Most problems trace to install, surroundings, or maintenance — not the olla.
For specific maintenance and cleaning procedures, see how to clean and maintain your olla pot.

Most olla problems are install issues, not product defects. Pre-soak, firm backfill, sealed lid, proximity-based plant placement, and annual mineral descale in hard-water areas — that’s the entire ongoing maintenance checklist. For long-term care, see how to clean and maintain your olla pot. For replacement timing if your olla is genuinely worn out, see how long olla pots last.
FAQ · COMMON QUESTIONS
Frequently Asked Questions
Why is my olla losing water so fast?
Most commonly, the pre-soak was skipped — dry clay walls absorb the first half-gallon inward before releasing outward. Other causes include hairline cracks (test by submerging) and very sandy soil that distributes water rapidly. After 24–48 hours of pre-soak, the system should settle into normal release.
Why are my plants dry when the olla is full?
Air gaps between the clay wall and surrounding soil block capillary action. The fix is to dig up the olla, backfill firmly with soil tamped in layers, and reinstall. Most common installation error.
Can I repair a cracked olla?
Partially. Food-safe epoxy can seal hairline cracks well enough to extend useful life, but you won’t restore full release efficiency. Replacement is usually more cost-effective than long-term patching.
Why does my olla smell bad?
Stagnant water in the reservoir, usually from infrequent refills or a sealed-too-tight lid that traps anaerobic conditions. Flush with fresh water and consider more frequent partial refills.
How do I know if it’s a hairline crack?
Submerge the empty olla in a bucket of water. Air will escape through the porous wall in steady fine streams — but a hairline crack will show as a more concentrated bubble stream from one specific point.
Can hard water damage the olla?
Over time, yes — mineral buildup inside the wall slowly reduces porosity. Annual vinegar descale (soak in 1:4 vinegar:water for 24 hours) removes deposits and restores porosity. For cleaning details, see how to clean and maintain your olla pot.
My olla froze and cracked — can I still use it?
If the crack is small, yes — expect reduced efficiency. For substantial cracks, replacement is needed. Prevent future freeze damage by removing the olla before first hard frost in cold climates.
Should I refill the olla before it’s empty?
Yes — running an olla dry repeatedly stresses the clay and can cause hairline cracks. Top up while there’s still water visible in the reservoir. See how often to refill an olla for full refill timing.
References
01 Bainbridge, D. A. (2001). “Buried clay pot irrigation: a little known but very efficient traditional method of irrigation.” Agricultural Water Management, 48(2), 79–88. DOI: 10.1016/S0378-3774(00)00119-0
02 Food and Agriculture Organization (FAO). “Pitcher irrigation: A simple, low-cost irrigation technique.” FAO Agricultural Technology Series. fao.org
03 University of Minnesota Extension. “Watering houseplants.” UMN Extension. extension.umn.edu