

How Deep to Bury an Olla Pot for Best Watering Efficiency
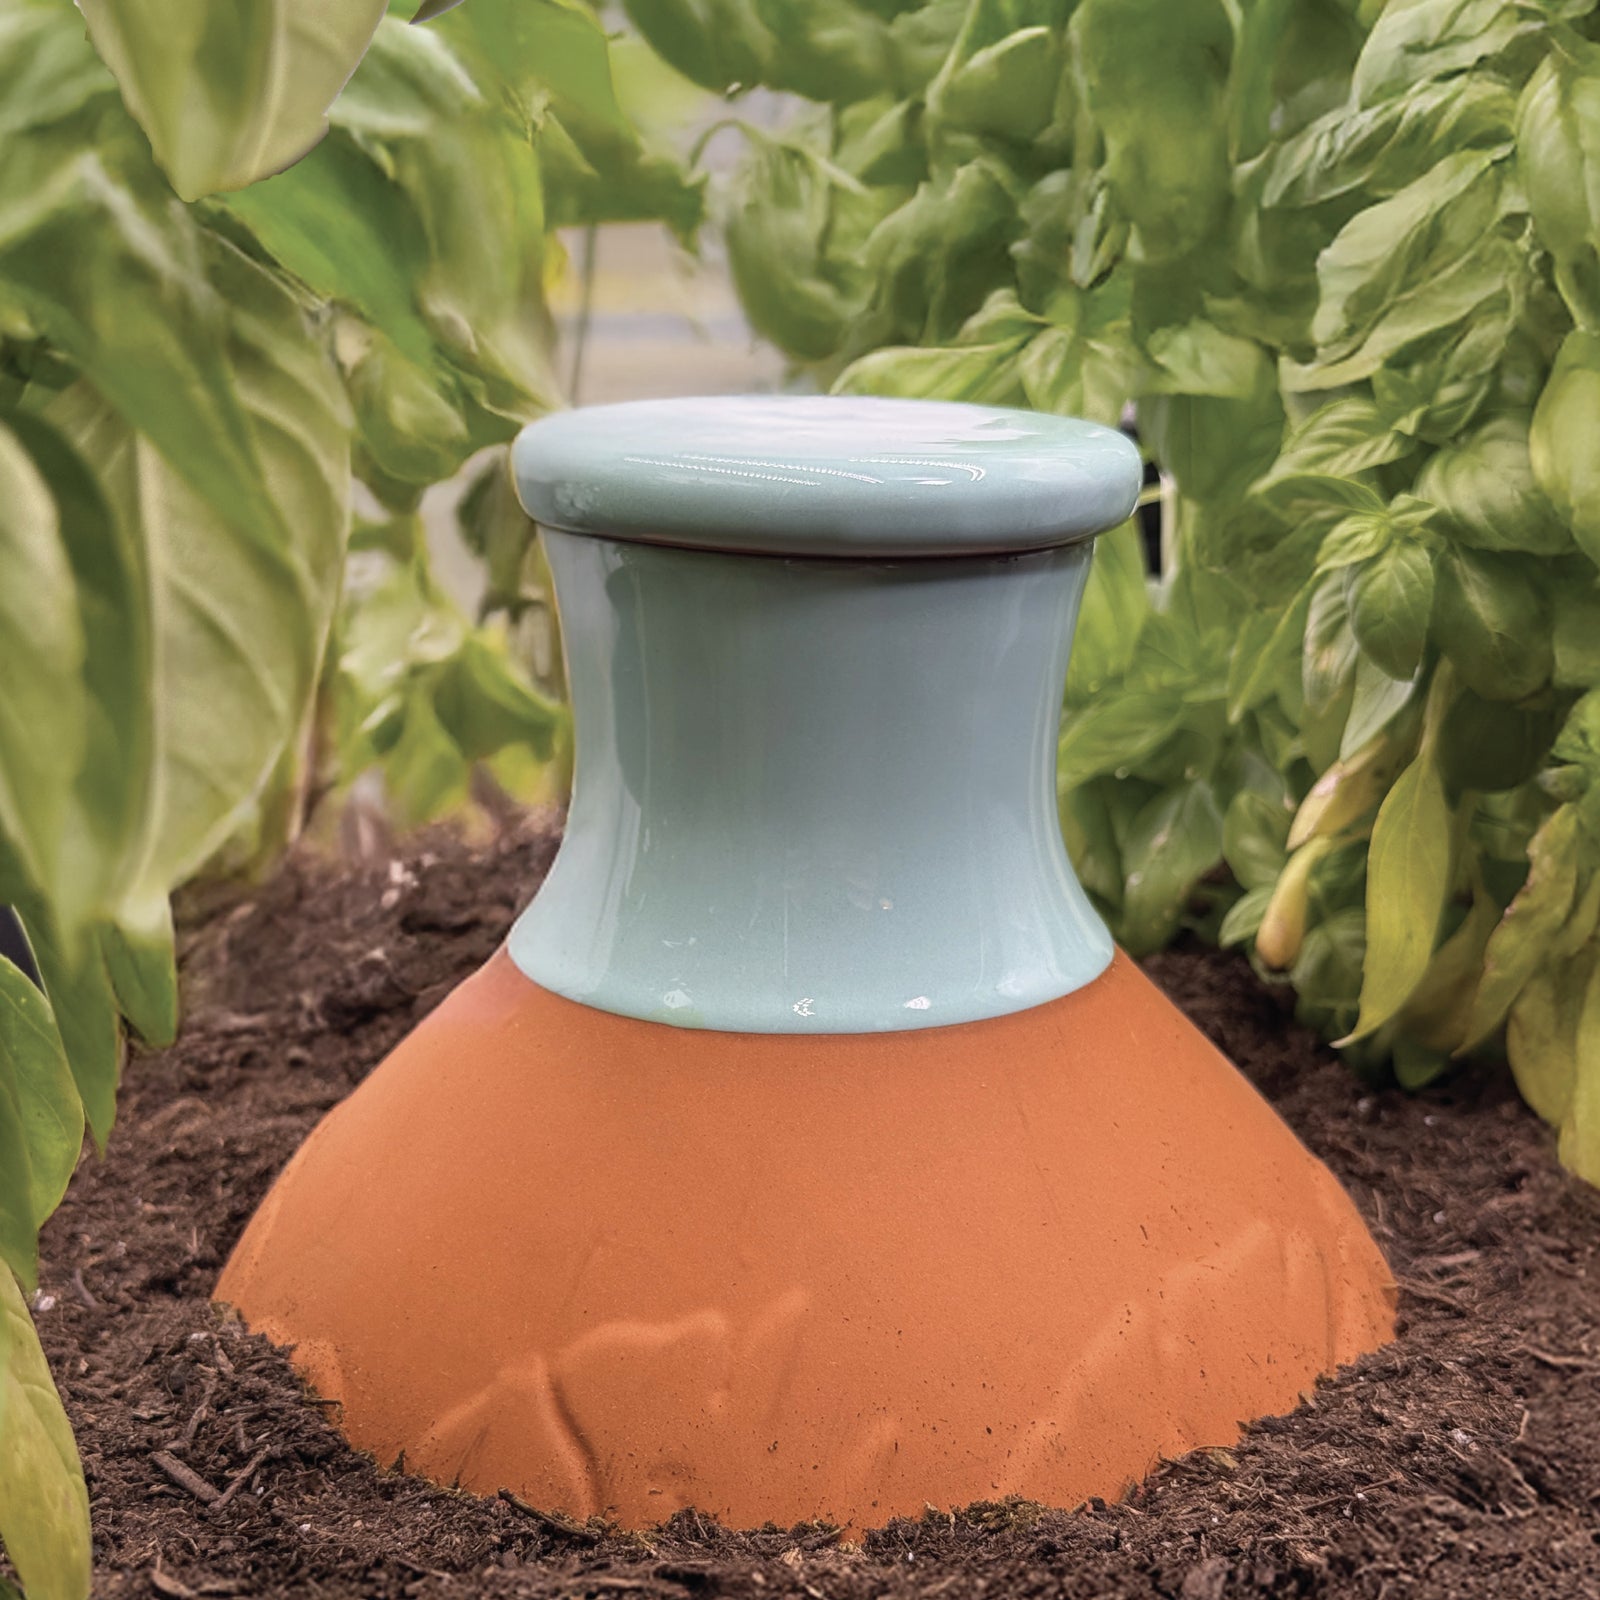
How deep you bury an olla determines how much of its clay surface is in contact with soil — which is the only surface that actually releases water to plant roots. Bury too shallow and you waste reservoir capacity. Bury too deep and the lid is below ground, making refilling messy. The right depth is straightforward: bury the olla up to its neck, leaving just the lid and 1–2 cm of neck above the soil surface. This guide covers why, plus the variations for different soil types and bed depths.
THE SHORT VERSION
01 · THE PRINCIPLE
Why burial depth matters
The clay wall of an olla only releases water where it’s in direct contact with soil — any portion of the pot above ground is wasted reservoir capacity. The opposite end of the spectrum is equally bad: bury too deep, the lid ends up at or below soil level, refilling becomes messy, and debris falls into the reservoir every time you open it. The right depth puts the entire body of the olla in soil contact while keeping the lid and top of the neck slightly proud of the surface.
For most ollas, that means burying up to the neck. The neck is where the pot narrows to the lid opening, and it serves as the natural reference for soil level. For the broader mechanism, see how ollas work — the science.
02 · DEPTH BY OLLA SIZE
Specific depth ranges
A 0.5-gallon olla is typically 8–10 inches tall, so burial depth is 7–9 inches. A 1-gallon olla is usually 12–13 inches tall and buries 11–12 inches deep. A 1.25-gallon Acqua Olla is approximately 14–15 inches tall and buries about 12–14 inches deep. The hole should be slightly wider than the olla — about 2 inches of clearance on each side — so you can backfill firmly without forcing the pot into a too-tight space.
Always measure your specific olla before digging. Tall narrow ollas and short squat ones bury at different depths even at the same reservoir volume. The general rule of “neck above soil” holds across shapes.
03 · SOIL CONTACT
Why soil contact is non-negotiable
Backfilling firmly is as important as depth. The clay wall releases water through capillary action, which depends on direct contact between the porous clay and the soil particles. Air gaps around the olla disrupt that contact — the water hits an air pocket, stops moving, and the section of the wall touching the gap effectively stops releasing. Tamp soil firmly around the olla on all sides as you backfill.
01 · Small olla (0.5 gal)
7–9 inches
Bury to the neck. Total depth roughly matches the pot height minus the lid clearance.
02 · Medium olla (1 gal)
11–12 inches
Standard raised-bed size. Bury so only the neck and lid sit above the soil surface.
03 · Acqua Olla (1.25 gal)
12–14 inches
Designed in California; specially formulated terra cotta. Buries to the neck like other ollas, with 1–2 cm of neck visible.
04 · Lid clearance
1–2 cm
The lid should sit just proud of the soil. Lower than 1 cm gets buried; higher than 2 cm exposes more clay to sun.
In raised beds with very loose soil, water the bed before installing the olla. Wet soil packs better around the pot and forms a tighter capillary connection. For raised-bed-specific advice, see using ollas in raised beds — complete setup guide.
04 · THE LID HEIGHT
How high should the lid sit above the soil?
About 1–2 cm — just enough to keep the lid clearly visible and easy to grasp during refills. The lid itself sits flush on the neck opening; the visible portion is the rim and the small lip just below. Going higher than 2 cm exposes more of the olla’s clay to direct sun, which slightly increases evaporation through the wall above ground — minor effect, but real. Going lower than 1 cm makes the lid easy to bury under mulch or kicked-up soil, which makes refilling a chore.
If you’re top-dressing the bed with mulch, install the olla first, then mulch around (not over) the lid. A 2–3 inch mulch layer can sit higher than the lid as long as the lid itself stays clearly accessible.
01 · Measure the olla
Note the total height including the lid. Subtract 1–2 cm for the lid clearance — that’s your hole depth.
02 · Dig the hole
Make it slightly wider than the olla (about 2 inches clearance per side) so you can backfill evenly.
03 · Test fit
Lower the olla into the hole and check that the lid sits 1–2 cm above soil level. Adjust depth if needed.
04 · Backfill firmly
Pack soil around the olla in layers, tamping as you go. Direct soil-to-clay contact is essential for water release.
05 · Water the bed
Water lightly around the installed olla to settle the soil and confirm no air gaps remain.
Soil contact tip
Loose soil disrupts the capillary release. Tamp until the olla feels firmly seated — no wiggle when you press the rim.
05 · ADJUSTING FOR PLANT ROOTS
How depth interacts with plant root zones
Most garden vegetable roots live in the top 6–18 inches of soil — tomatoes go deeper, lettuces stay shallower. A standard olla buried to its neck releases water across the full 8–14 inch root zone, which matches most vegetable crops. Trees and large perennials with deep root systems may need a larger or differently-placed olla.
Don’t plant aggressive root crops like potatoes directly against an olla — the tubers can push the pot upward or crack thin-walled cheap ollas. For plant-specific guidance, see what plants thrive with olla irrigation.
- Measure twice, dig once. Pots vary by manufacturer — check your specific olla’s height before digging.
- Pre-soak the olla. Submerge for 15–30 minutes before burial so the clay is primed and ready to release on first fill.
- Backfill in layers. Add 3–4 inches of soil, tamp, add more, tamp. Layered backfill packs more tightly than a single dump.
- Check lid height after backfill. Confirm the lid sits 1–2 cm above the soil surface before declaring the install complete.
- Avoid planting too close. Keep transplants 6–12 inches from the olla so roots have room to grow into the wetted zone naturally.
06 · COMMON DEPTH MISTAKES
Three depth mistakes to avoid
First mistake: burying too shallow. Some gardeners worry about “losing” the pot underground and only bury halfway. The exposed half doesn’t release water to anything — it’s just decoration. Second mistake: leaving air gaps from loose backfill. Tamp firmly. Third mistake: burying the lid level with or below soil. Refilling becomes a dig, debris falls in, and you stop using the system because it’s annoying.
Fix is straightforward: dig the right depth, place the pot, backfill firmly with the lid sitting 1–2 cm proud of the surface. Five minutes of installation versus weeks of frustration. For full setup steps, see how to install an olla in a raised bed, pot, or garden.
Burial depth is one of those details that determines whether the system works smoothly or annoys you. Bury to the neck, lid 1–2 cm above soil, backfill firmly. Five minutes of careful installation saves you from a frustrating system. For the full step-by-step setup, see the olla watering system step-by-step setup guide.
FAQ · COMMON QUESTIONS
Frequently Asked Questions
How deep should you bury an olla pot?
Up to the neck, with only the lid and 1–2 cm of neck above the soil surface. For a 1.25-gallon Acqua Olla, that’s about 12–14 inches of total depth. The clay wall releases water only where it contacts soil, so any part above ground is wasted reservoir capacity.
Can you bury an olla too deep?
Yes — if the lid ends up at or below soil level, refilling becomes messy and debris falls into the reservoir. The lid should sit clearly above the surface so you can lift it cleanly without digging. About 1–2 cm above soil is the right zone.
Do you need to backfill firmly?
Yes — firm backfill is essential. Air gaps between the clay wall and the surrounding soil disrupt the capillary connection that drives water release. Tamp the soil in layers as you backfill so the olla feels firmly seated.
What if my soil is very loose?
Water the soil before installing the olla. Wet soil packs more tightly around the pot than dry loose soil. For very loose sandy soils, ollas may underperform overall — see what plants thrive with olla irrigation for sandy-soil strategies.
Does burial depth change by plant type?
Slightly. Tomatoes and deep-rooted plants benefit from olla placement that reaches the full 12–14 inch root depth. Shallow-rooted lettuces and herbs don’t need that much depth but still benefit from neck-deep burial because of soil contact area.
Should I dig a hole wider than the olla?
Yes — about 2 inches wider on each side so you can backfill evenly. A too-tight hole forces the olla in at an angle and leaves uneven soil contact. A too-wide hole wastes effort but isn’t harmful.
How do I install an olla in a shallow raised bed?
If the bed is shallower than the olla’s total height, dig into the underlying soil through the bed bottom. Most raised beds sit on permeable ground, so the olla can extend below the bed frame. For raised-bed specifics, see using ollas in raised beds — complete setup guide.
Should the lid be flush with the soil or above it?
About 1–2 cm above — just enough to stay clearly visible and easy to grasp during refills. Flush with the soil makes refilling annoying because the lid gets buried under mulch or kicked-up soil quickly.
References
01 Bainbridge, D. A. (2001). “Buried clay pot irrigation: a little known but very efficient traditional method of irrigation.” Agricultural Water Management, 48(2), 79–88. DOI: 10.1016/S0378-3774(00)00119-0
02 Food and Agriculture Organization (FAO). “Pitcher irrigation: A simple, low-cost irrigation technique.” FAO Agricultural Technology Series. fao.org