

The Olla Watering System Explained for Beginners
If you’ve heard the term “olla watering system” thrown around by gardeners and weren’t sure what it actually meant, the answer is simpler than the term suggests. An olla watering system is just an unglazed terracotta pot, a lid, and your garden soil — working together to deliver water to plants on demand. There’s no timer, no tubing, no power, and almost no maintenance. This guide explains everything a first-time olla user needs to know, from what to buy to how to install it to whether it actually fits your garden.
THE SHORT VERSION
01 · THE PARTS
What comes in an olla watering system?
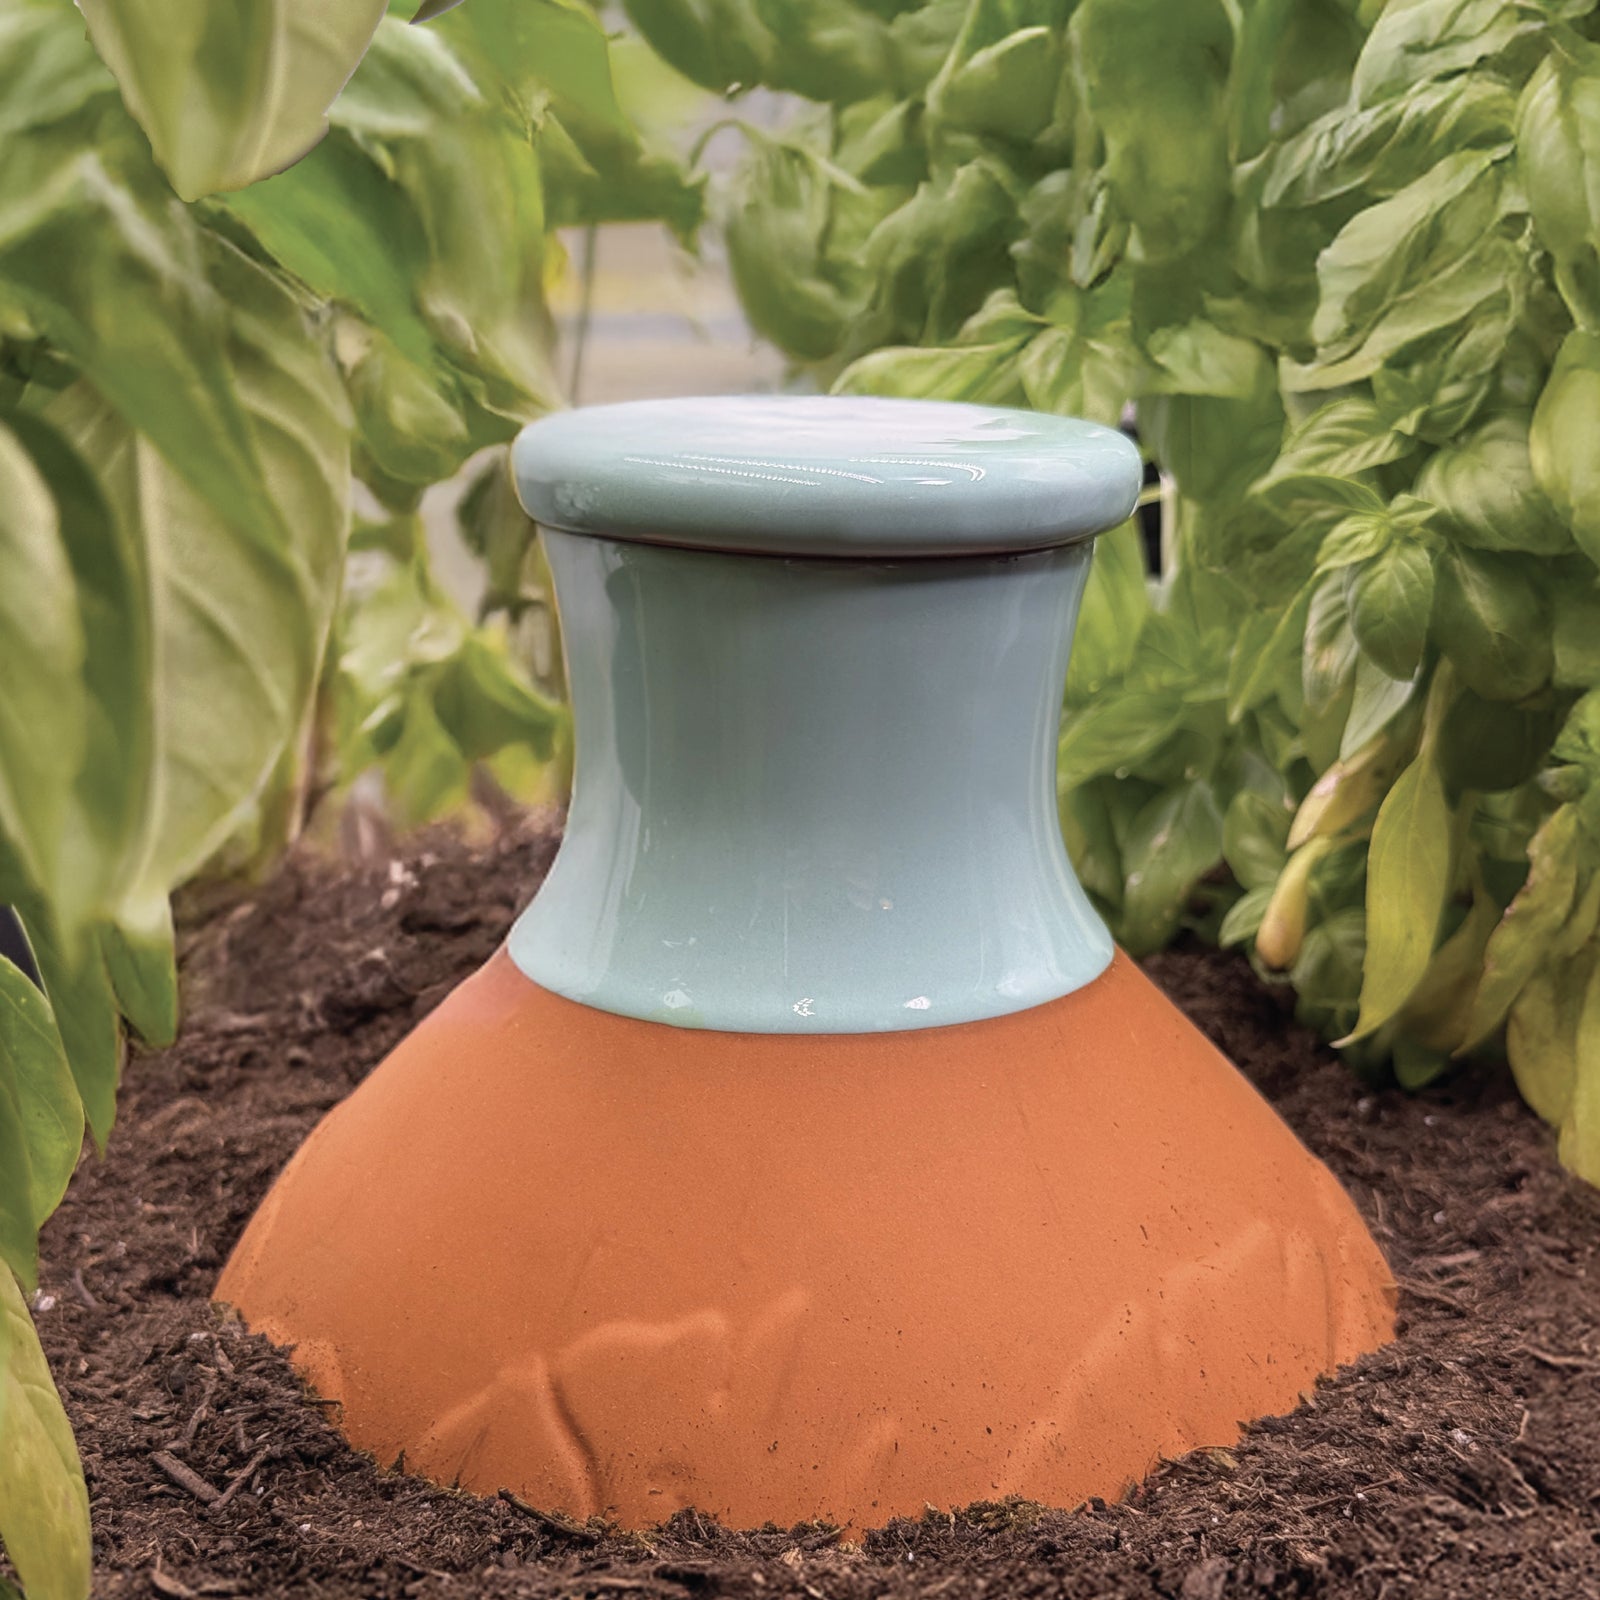
An olla watering system has two parts: the pot and the lid. The pot is the bulbous unglazed terracotta vessel that holds water and releases it through its porous wall. The lid covers the narrow opening on top, where you refill, and serves three purposes: it slows evaporation from the reservoir, keeps debris and bugs out, and prevents mosquitoes from breeding in the standing water inside. That’s the entire system. Everything else — soil moisture tension, capillary action, plant root uptake — happens for free.
Acqua Olla is sized at 1.25 gallons, holding enough water to sustain a typical raised-bed area for about a week in summer or several weeks in cool weather. Designed in California and artisanally handcrafted with a specially formulated terra cotta mixture, it’s built for slow, even release and long service life.
02 · HOW IT WORKS
How does the olla system actually water plants?
The olla is buried in the soil with only its neck and lid above the surface. You fill the reservoir through the top opening, replace the lid, and walk away. The porous clay wall begins releasing water into the surrounding soil immediately. The rate depends on how dry the soil is — dry soil pulls harder through the clay, wet soil pulls less.
Plant roots growing toward the olla create a continuous low-moisture zone right next to the clay wall, which is what drives steady release over days and weeks. The system is self-regulating: when the plant doesn’t need water, the soil stays moist and the flow slows. When the plant drinks, the soil dries and more water moves through. For a deeper technical explanation, see the science of clay pot irrigation.
03 · THE OPTIONS
How does an olla compare to other watering systems?
People considering an olla for the first time usually want to know how it stacks up against the alternatives they already use. Here’s the comparison for typical home garden conditions.
01 · Olla system
Set and forget
One pot, one lid, no power, no timer. Buried in soil, refilled weekly in summer. Demand-driven release.
02 · Drip irrigation
More moving parts
Tubing, emitters, timer, and a water source. Reliable for large areas but requires installation, maintenance, and electricity in most cases.
03 · Watering globes
Less consistent
Glass bulbs that release on air pressure. Can empty too fast in dense soil or clog in clay. Decorative but less reliable than ollas.
04 · Hand watering
Most labor
Reliable but ties you to a daily schedule. Inconsistent timing and depth stress plants over time.
For a side-by-side comparison with spike-based devices specifically, see watering stakes vs olla pots side by side.
04 · THE SETUP
How do you install an olla watering system?
Installing an olla takes about five minutes per pot. The steps are straightforward, but there are a few subtleties that affect how well the system works in the long run.
01 · Pick the spot
Choose a central location among the plants you want to water. The olla’s wetted zone reaches about 12–18 inches in radius.
02 · Dig the hole
Dig slightly larger than the olla. Depth should leave the neck and lid 1–2 cm above the soil surface for easy refilling.
03 · Seat the olla
Place the olla in the hole and backfill firmly around it. Soil-to-clay contact activates the capillary release mechanism.
04 · Fill and cap
Pour water in through the top opening. Replace the lid to slow evaporation and keep mosquitoes out.
05 · Plant around it
Place or transplant plants within 12–18 inches of the olla. Their roots will grow toward the moisture over time.
Maintenance
Refill weekly in summer; biweekly in spring/fall; monthly in winter. Drain and store before hard freezes.
05 · THE COVERAGE
How big an area does one olla water?
A 1-gallon olla in healthy loamy soil typically waters a 12–18 inch radius around the pot. Larger ollas like Acqua Olla’s 1.25-gallon size extend that radius further; smaller ones cover less. In sandy soils, the wetted zone is smaller because water drains past the roots; in clay-heavy soils, the zone is also smaller because water doesn’t move easily through the soil. For a raised bed, you typically need 1–2 medium ollas per 16 square feet.
Plants need to have their roots within the wetted zone to benefit. For newly seeded beds, plants too far from the olla won’t get water until their roots grow into range. See our raised-bed sizing and spacing guide for spacing guidance.
- Pre-soak the olla before burial. Submerge the porous clay in water for 15–30 minutes to prime the wall and prevent dry-clay shock when filled, so the system reaches steady release faster.
- Mulch over the soil surface. A 2–3 inch layer of mulch around (not on top of) the olla slows surface evaporation, which keeps more of the olla’s water reaching the roots.
- Check the lid is sealed. An open or loose lid lets mosquitoes breed and accelerates evaporation through the reservoir opening. Make sure the lid sits flush every time you refill.
- Keep the neck above the soil. The olla’s narrow neck and lid should stay 1–2 cm above the soil surface, so you can refill without digging and so the lid keeps debris out.
- Refill before the reservoir empties. Run an olla dry repeatedly and the porous wall can develop hairline cracks. Top up while there’s still water visible inside.
06 · WHO IT’S FOR
Who should use an olla watering system?
Ollas are ideal for raised-bed gardeners, container gardeners with larger pots, dryland and Mediterranean-climate gardens, vacation-prone gardeners, and anyone who wants to cut both water use and watering labor. They’re less ideal for very large in-ground gardens (where you’d need many ollas and drip irrigation often makes more sense), for cold climates where freezing damages the clay, and for very small single houseplants in tiny pots (where an AcquaTerra spike fits better — see the best self-watering spikes for indoor plants).
That’s the complete olla watering system: one pot, one lid, no power, no maintenance, working with physics to do what timer-based irrigation needs hardware and software for. If you’re considering one for your garden, start with our complete olla irrigation guide for beginners for the full setup walkthrough, or browse the Acqua Olla product page below.
FAQ · COMMON QUESTIONS
Frequently Asked Questions
What is an olla watering system?
An olla watering system is an unglazed terracotta pot buried in garden soil with a lid on top, which releases water slowly to surrounding plant roots through its porous clay wall. The system is demand-driven and self-regulating — no timer, no power required.
How does an olla water plants?
Water moves through the porous clay wall when the soil outside the olla is drier than the water inside. Plant roots pulling moisture from the soil around the olla create the dry-soil condition that triggers release. When the plant doesn’t need water, the soil stays moist and the flow slows.
Is an olla better than drip irrigation?
For raised beds, container gardens, and small-to-medium plots, ollas are typically more efficient and lower-maintenance than drip irrigation. For very large in-ground gardens, drip can be more practical because you can’t bury enough ollas to cover the area economically.
How many plants can one olla water?
Depends on the olla size and the plant types. A 1-gallon olla typically waters a 12–18 inch radius, which can serve 3–6 medium plants in a raised bed. Larger ollas like Acqua Olla’s 1.25-gallon size cover more area.
Do you need to dig a hole for the olla?
Yes. The olla has to be in direct contact with the soil for the clay wall to release water through capillary action. The pot is buried up to its neck so that only the lid is above the surface.
How often do you fill an olla?
Once or twice a week in summer, biweekly in spring and fall, and monthly or less in winter, depending on the climate and the plants. Check before refilling rather than following a strict schedule.
Will my plants die if the olla runs out of water?
Not immediately — the soil around the olla stays moist for several days after the reservoir empties. But running an olla dry repeatedly stresses both the plants and the clay, so refilling on schedule is best.
Can I use an olla in a pot?
Yes, as long as the pot is at least 12 inches across so the olla’s wetted zone reaches the surrounding plant roots. For smaller pots or single houseplants, a self-watering spike like AcquaTerra is usually a better fit.
References
01 Bainbridge, D. A. (2001). “Buried clay pot irrigation: a little known but very efficient traditional method of irrigation.” Agricultural Water Management, 48(2), 79–88. DOI: 10.1016/S0378-3774(00)00119-0
02 Food and Agriculture Organization (FAO). “Pitcher irrigation: A simple, low-cost irrigation technique.” FAO Agricultural Technology Series. fao.org