

Homemade Ollas from Terracotta Pots: Why the Clay Mixture Matters
Most DIY olla tutorials skip past the single most important variable: the clay itself. They focus on the assembly — gluing pots together, sealing drainage holes, capping the top — while treating the terracotta as interchangeable. It isn’t. The clay mixture determines porosity, porosity determines release rate, and release rate determines whether your homemade olla actually works or just sits in the soil leaking unevenly. This post explains why the clay matters more than the construction, and what to look for if you’re going DIY.
THE SHORT VERSION
01 · THE CLAY IS THE PRODUCT
Why the terracotta mixture is what matters
An olla’s entire function is moving water through its wall at a controlled rate. The mechanism is capillary action through micropores in the clay — water moves outward only when the soil outside is drier than the clay-water interface. That release rate is set almost entirely by the clay’s composition and how it’s fired. Wall thickness matters too, but it’s a secondary variable. Get the clay wrong and no amount of construction skill saves the project.
Standard nursery terracotta pots are not formulated for irrigation. They’re fired for visual appearance, structural strength, and freeze-thaw tolerance — functional concerns that have nothing to do with controlled water release. A pot that’s pretty in a garden center can be too porous (leaks like a sieve, empties overnight), not porous enough (barely releases water at all), or so inconsistent between batches that your two-pot DIY olla releases unevenly from one side to the other.
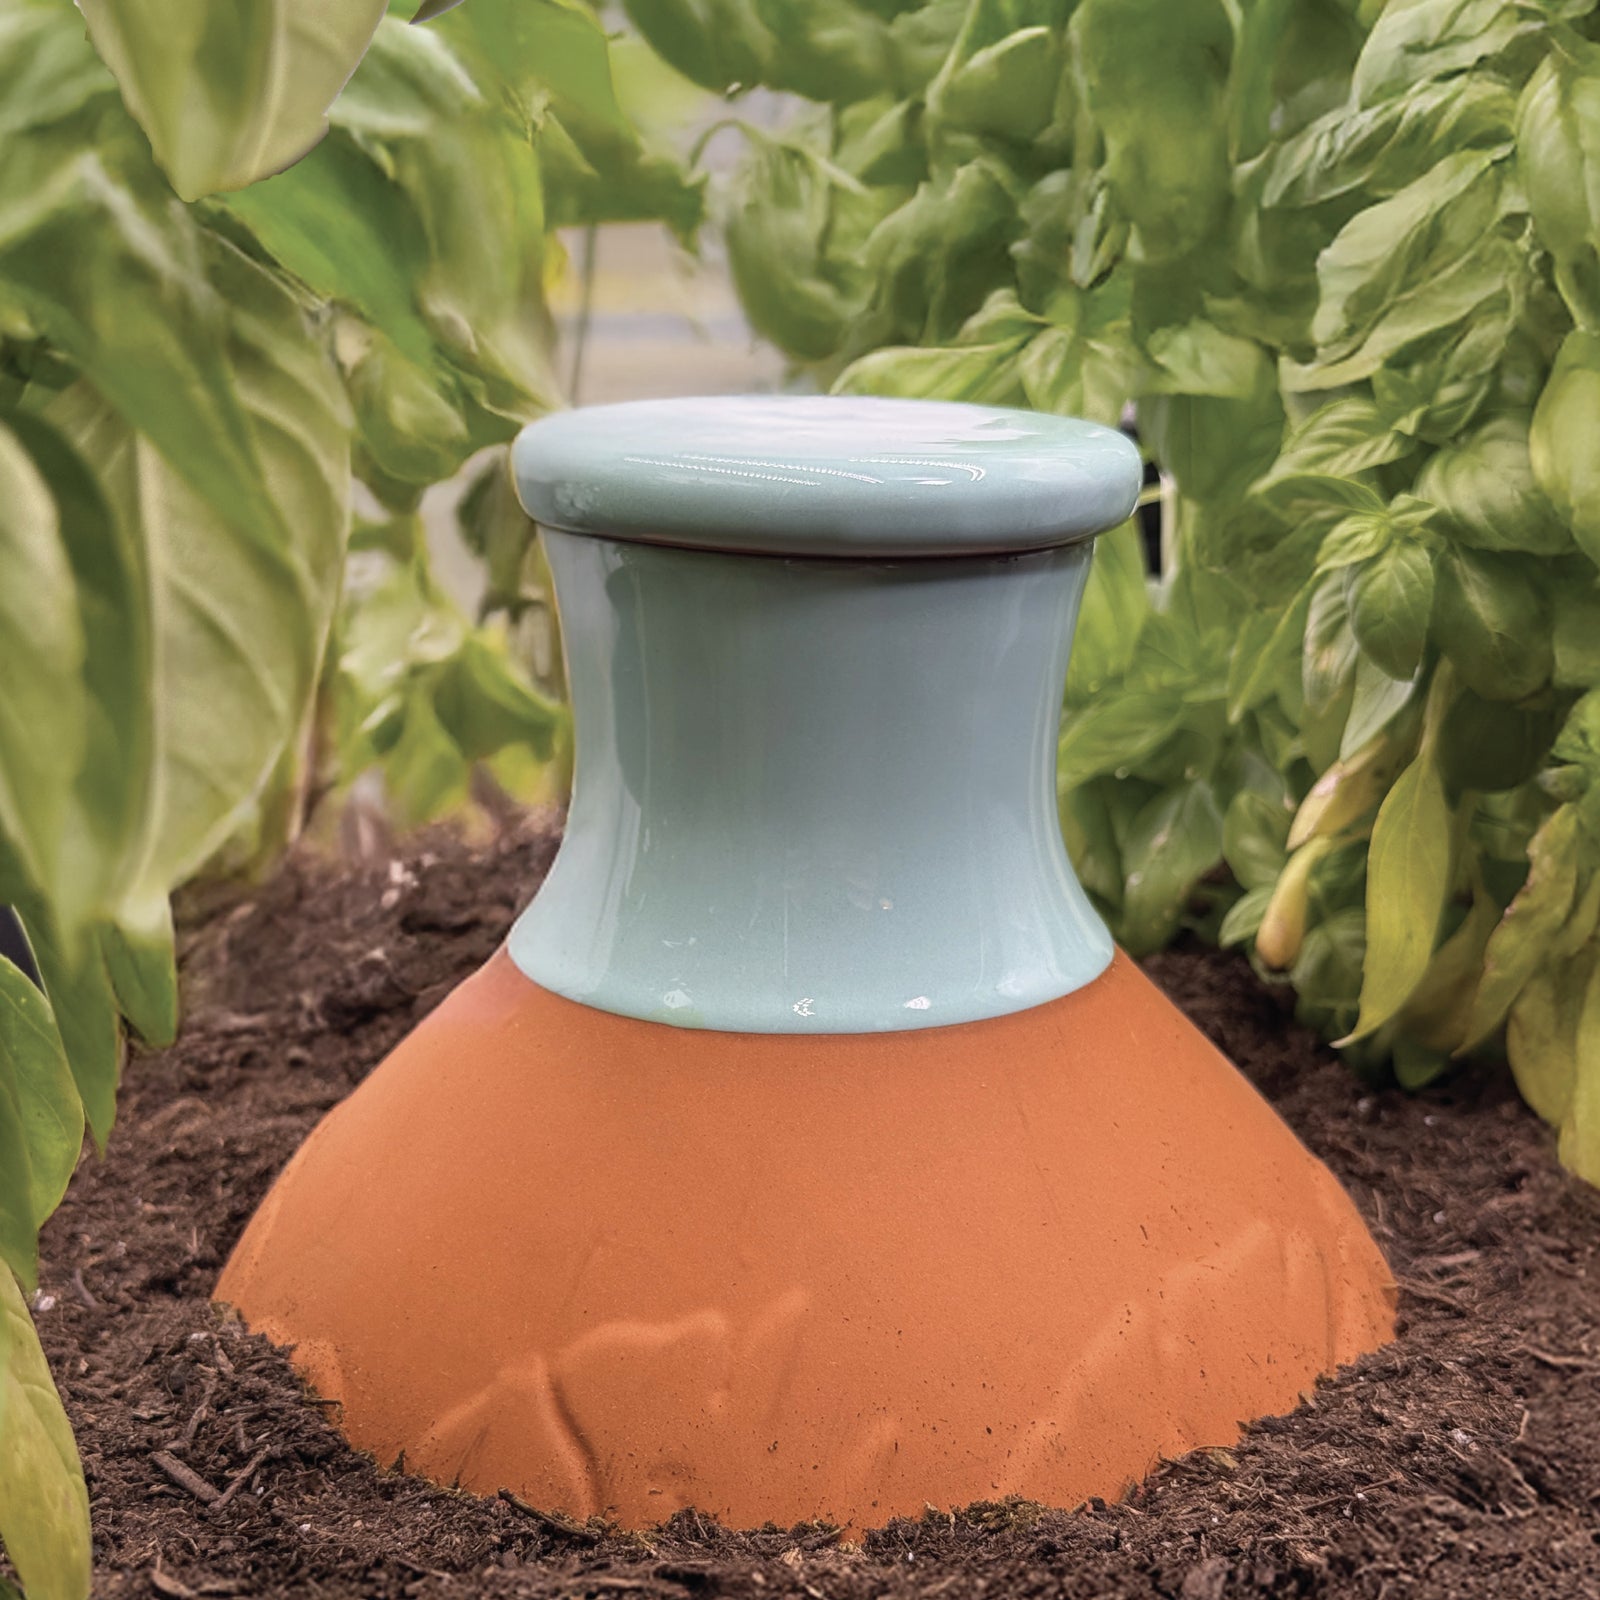
This is why DIY ollas built from off-the-shelf nursery pots produce such mixed results. The hobbyist did everything right on the construction side and the clay simply didn’t cooperate. Acqua Olla’s mixture is engineered for slow, even release and tested across multiple production cycles to produce a consistent porosity range. That’s the difference between a manufactured olla and a DIY one.
02 · WHAT GOES WRONG WITH STANDARD POTS
Common failures when you DIY with nursery terracotta
The most common failure mode in homemade ollas is the “leaks too fast” problem. The pot is more porous than expected, water seeps out at a high rate, the reservoir empties in 12–24 hours instead of the 5–10 days a quality olla should provide. You end up refilling twice a day — defeating the entire purpose of olla irrigation.
The opposite failure is just as common: the pot is glazed (most decorative terracotta has at least a partial glaze, even when it looks “raw”) or fired so densely that almost no water moves through. The reservoir stays full for weeks, your plants get nothing, and the system silently fails. By the time you notice, the plants are stressed or dead. For the full DIY-versus-manufactured comparison, see DIY ollas vs manufactured — honest comparison.
03 · THE FIRING TEMPERATURE FACTOR
How firing affects porosity (and what we don’t disclose)
Beyond the raw clay composition, firing temperature is the other variable that determines porosity. Fire too cool and the clay stays too porous and structurally weak; fire too hot and the clay vitrifies, the pores close, and water can’t move through at all. The right temperature for irrigation-grade terracotta sits in a narrow window that producers refine through testing.
01 · Acqua Olla
Engineered clay
Specially formulated terra cotta mixture, tested and refined for consistent slow release. Designed in California.
02 · Nursery terracotta
Variable
Fired for cosmetics, not irrigation. Porosity varies wildly between pots and brands. Often too porous or partially glazed.
03 · Hand-thrown DIY
Possible
Pottery hobbyists can dial in clay and firing if they own a kiln and have time to experiment with formulations.
04 · Plastic substitutes
Don’t work
The whole olla mechanism depends on porous clay. Sealed materials cannot release water through capillary action.
Acqua Olla’s terra cotta blend is fired at a precise, tested temperature that we’ve refined over multiple production cycles. We don’t publish the specific number because it’s part of what makes the product reproducible — but we can say that the firing window for a properly performing olla is narrower than most DIY hobbyists realize. Hit it wrong by even 50°F and porosity changes dramatically.
04 · HOW DIY CAN ACTUALLY WORK
If you’re committed to going DIY
DIY ollas can work — we’re not telling you they can’t. The four-step approach below covers what to look for. The key is treating the clay selection as the primary task, not an afterthought. Spend time on it. For the full step-by-step DIY build, see how to make an olla watering system at home. For the broader DIY-versus-bought decision, see DIY ollas vs manufactured — honest comparison.
If you’re building one or two ollas as an experiment, the cost and time savings of DIY can make sense. If you’re trying to outfit an entire vegetable garden, the per-unit time and the variable performance make the math start working against you. Manufactured ollas pay for themselves in saved hassle alone.
01 · Pick raw terracotta
Avoid any pot that’s glazed, sealed, or treated. Even “natural-looking” finishes often have a clear coat that blocks porosity.
02 · Test porosity
Submerge the pot. Watch for steady streams of small bubbles. No bubbles means low porosity (too dense). Heavy bubbling means high porosity (will empty fast).
03 · Check thickness
Walls should be 8–12 mm. Thinner cracks easily; thicker releases too slowly.
04 · Inspect for cracks
Hairline cracks ruin water retention. Tap the pot — a sharp ring is good, a dull thud suggests internal damage.
05 · Seal joints carefully
Two-pot ollas need a food-safe waterproof seal at the joint. Silicone is most common, though some gardeners prefer natural beeswax.
Cover the top
An open top loses water to evaporation and breeds mosquitoes. Use a flat stone, terra cotta saucer, or purpose-cut wood disc.
05 · WHAT TO CHECK ON DIY POTS
Pre-build inspection for nursery terracotta
Before you commit a nursery pot to an olla build, run these checks. They won’t guarantee performance, but they’ll filter out the obvious failures.
- Confirm the pot is unglazed. Run a wet finger across the surface. If water beads, there’s a coating — even “raw” nursery pots often have a sealant layer that ruins porosity.
- Test by submerging the pot. Steady fine bubbles for 10–15 minutes indicates good porosity. No bubbles or just a few large ones means the clay is too dense for olla use.
- Check the rim and base for cracks. Hairline cracks ruin water retention. Run a finger around every edge and look closely under direct light.
- Plan for a sealed lid. Open-top ollas evaporate water and breed mosquitoes. A flat stone, fitted wood disc, or terra cotta saucer works.
- Accept the variability. Even with all checks, two pots from the same batch may release at different rates. Build two ollas, expect one to outperform.
06 · THE HONEST TAKE
Why we built the Acqua Olla
BabaBerry exists because the DIY-olla world produces such variable results. The Acqua Olla is designed in California and artisanally handcrafted with a specially formulated terra cotta mixture, optimized over multiple production cycles for slow, even release. That’s not marketing copy — it’s the actual problem we set out to solve: making the clay variable consistent so home gardeners get reliable olla irrigation without having to source raw clay, build a kiln, and run a research program.
If you want to build your own as a hobby project, the resources in how to make an olla watering system at home will get you started. If you want it to just work, the Acqua Olla is built for that. For broader context on what makes any olla a quality olla, see what makes a quality olla.

The clay mixture is the variable that separates an olla that works from one that doesn’t. DIY ollas can be a great hobby project, but if you’re relying on the system to actually water your garden, the consistency of a manufactured olla like the Acqua Olla is worth the cost. For the full DIY guide, see how to make an olla watering system at home. For what makes a quality olla overall, see what makes a quality olla.
FAQ · COMMON QUESTIONS
Frequently Asked Questions
Can I make an olla from a regular terracotta pot?
Yes, but the result is unpredictable. Nursery terracotta is fired for cosmetics, not irrigation, and porosity varies wildly between pots. You can get lucky — or end up with an olla that empties in 24 hours or barely releases at all.
Why does the clay mixture matter so much?
Capillary action through micropores is the entire olla mechanism. Porosity is set by clay composition and firing temperature. Get either wrong and water moves through the wall too fast, too slow, or unevenly — making the olla ineffective.
What clay is best for ollas?
Low-fired earthenware terracotta with a specific porosity range. Acqua Olla uses a specially formulated terra cotta mixture refined over multiple production cycles for this purpose. For DIY, look for low-fire raw terracotta that’s never been glazed or sealed.
How do I test if a terracotta pot will work as an olla?
Submerge it in water. Watch for steady streams of small bubbles for 10–15 minutes — that indicates good porosity. No bubbles means it’s too dense. Heavy, large bubbles means it’s too porous and will empty quickly.
What’s wrong with glazed terracotta?
Glaze seals the clay’s pores, blocking capillary water movement. Even “partially glazed” or “clear-coated” pots usually have enough sealant on the inside or outside to ruin olla function. Use only fully unglazed terracotta.
Why is the firing temperature secret?
Firing temperature is one of the variables Acqua Olla refines over multiple production cycles to maintain consistent porosity. Publishing the exact number would make the product trivially reproducible — we share that there’s an engineered formula behind it without giving away the recipe.
Is a DIY olla cheaper than buying one?
For one or two ollas, marginally — especially if you already own raw terracotta pots. For larger gardens, the time investment and variable performance make manufactured ollas the better choice. See DIY ollas vs manufactured — honest comparison.
Can I fix a DIY olla that releases too fast?
Sometimes. Sealing the inside with a thin layer of food-safe beeswax can reduce porosity, but the result is often uneven and the system becomes less predictable. The cleaner fix is to start with a different pot.
References
01 Bainbridge, D. A. (2001). “Buried clay pot irrigation: a little known but very efficient traditional method of irrigation.” Agricultural Water Management, 48(2), 79–88. DOI: 10.1016/S0378-3774(00)00119-0
02 Food and Agriculture Organization (FAO). “Pitcher irrigation: A simple, low-cost irrigation technique.” FAO Agricultural Technology Series. fao.org